Structural Defect Identification & Billet
Dimension Calculation for a leading Steel manufacturing company in India
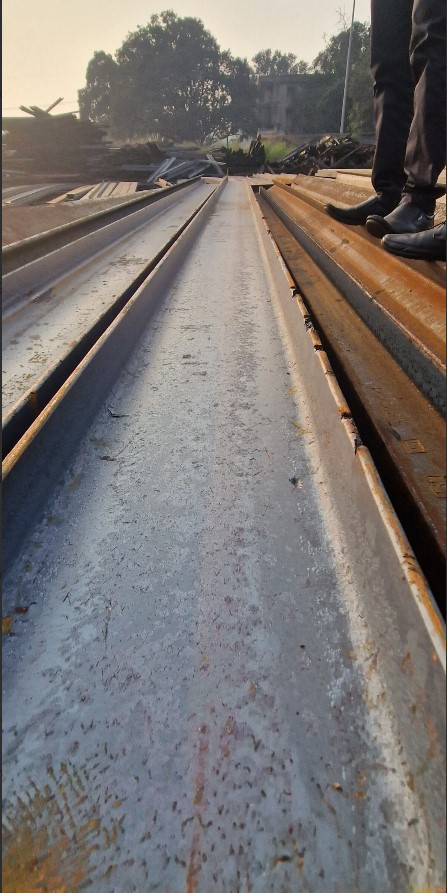
The company had issues with identifying defect in structural and calculating the billets dimension properly at the time of production. Structural are produced as end products in the steel plant and once produced, these structural are tested for quality assurance. This quality assurance process is based on a random sampling of these objects from both sides, as a result of manual flipping action. The challenge was that the camera placement in the area where the autonomous quality check can be done, was proving to be challenging. Also, the manual tilting is the only process through which both sides of the structural can be observed, there needs to be SOPs defined around the process to accommodate the challenges.
-
Location
India
-
India End User
Billet measurement
-
Cameras Installed
100+
-
Industry
Metallics
Search By Popular Keywords
Problem:
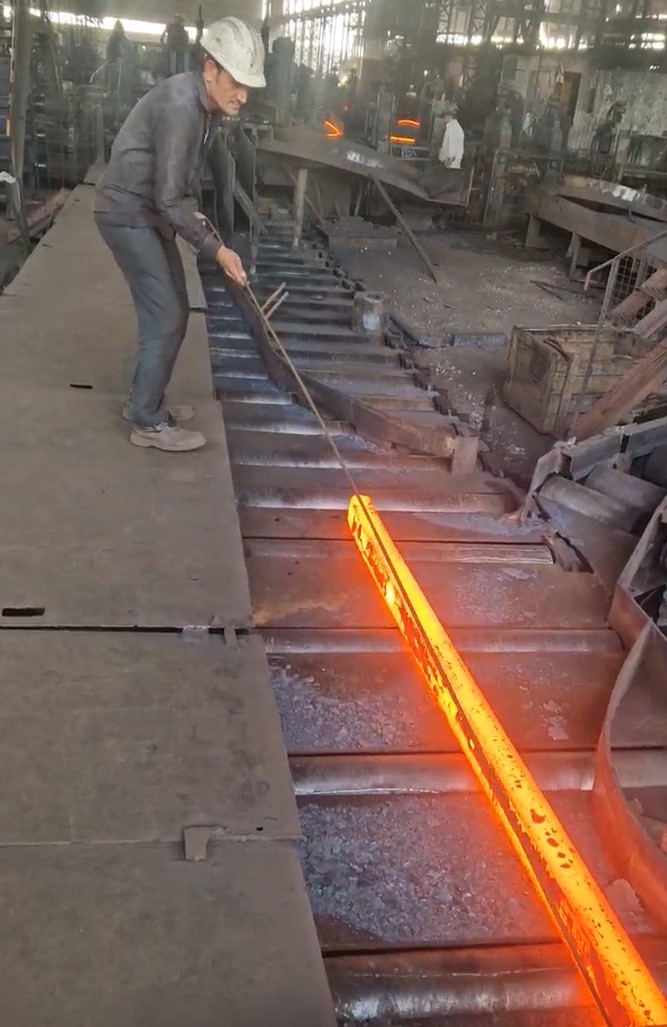
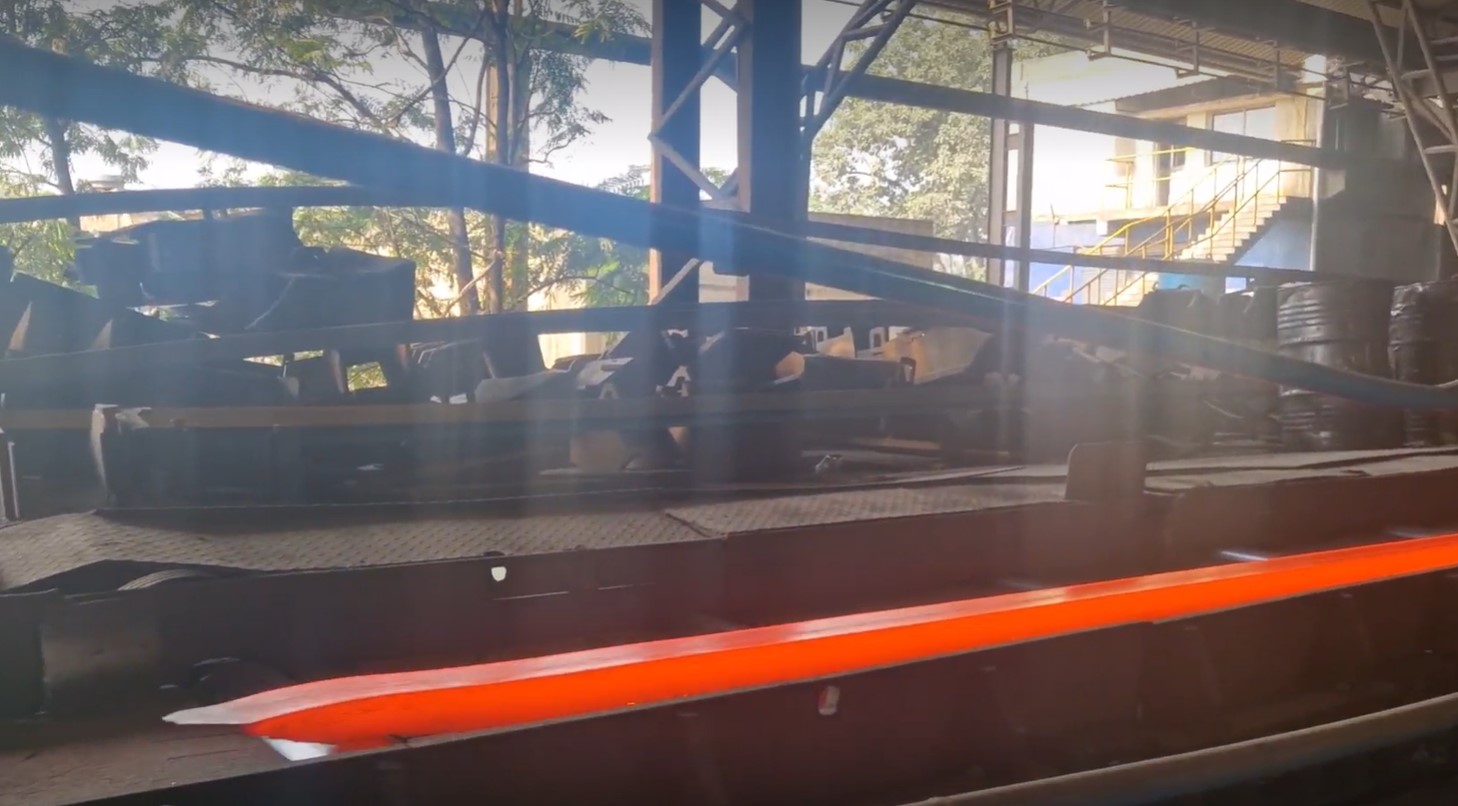
As far as billets measurement is concerned, the issue for the steel plant was critical. Billets are produced in SMS from CCM furnace, as input to the Rolling machine for TMT production. In this case, after the billets were produced, the dimensions of billets were measured manually using eye-estimation and physical comparison in a random sampling manner. This process entailed some miscalculation, thereby producing unusable scrap in huge volume. The requirement was to accurately measure the dimension of each billet, before they are sent to the Rolling Machine.
Solution:
To overcome this challenge, our team implemented a computer vision-based solution powered by our LogicLens Platform (LLP). The solution involved the following key components:
- Strategic placement of Video Cameras: Installation of commodity video cameras at strategic positions across production lines to capture footage of the billet measurement process.
- Defining the SOPs: Standardizing the SOPs around structural handling process in consultation with the company and then train the ML model accordingly to identify the defect at the right moments.
- LogicLens platform : Utilization of Logic Lens, our low-code, business solution development studio, for developing both the solutions. The solution enables the aggregation and processing of video feeds from the cameras to identify faults in the structural & the expected length & width measurement of the billets with the help of cutting-edge machine learning models for computer vision.
- Integration with ERP: Seamless integration of the platform with the existing ERP system of the company to ensure that billet dimension data is synchronized with the company’s broader operational framework and rest of the steel manufacturing process.
Results:
Upon implementation, the billet measurement solution delivered the following results:
- Increased Operational Speed: The automated system significantly accelerated the defect identification & billets measurement process compared to manual methods, contributing to enhanced operational efficiency.
- Accurate Identification: The computer vision-powered system ensured an objective and accurate billet measurement & structural fault identification process, eliminating errors associated with manual counting.
- Real-time Data: Stakeholders gained access to real-time data related to production, enabling prompt decision-making and improved overall responsiveness to production challenges.
Business Outcome:
The incorporation of Starinco’s Computer Vision solution has brought about a positive impact on the Steel manufacturing company such as
- Improved Operational Efficiency: With an automated process, the company experienced heightened operational efficiency across all production lines.
- Enhanced Profitability: The timely fault identification in structural & proper measurement of billets before they go to rolling machines saved a lot of money which led to a gross increase in the profit margin, showcasing the tangible business value of their solutions delivered by Starinco.
Overall, the adoption of the Computer Vision solution along with Logic Lens platform revolutionized the steel manufacturing process of the company, paving the way for sustainable growth and improved competitiveness in the industry.


